Finding a cut that stays neat at work while still looking modern can be challenging. Low fades often look safe, yet many guides skip the real steps that make the fringe sit clean and the sides grow out smooth.
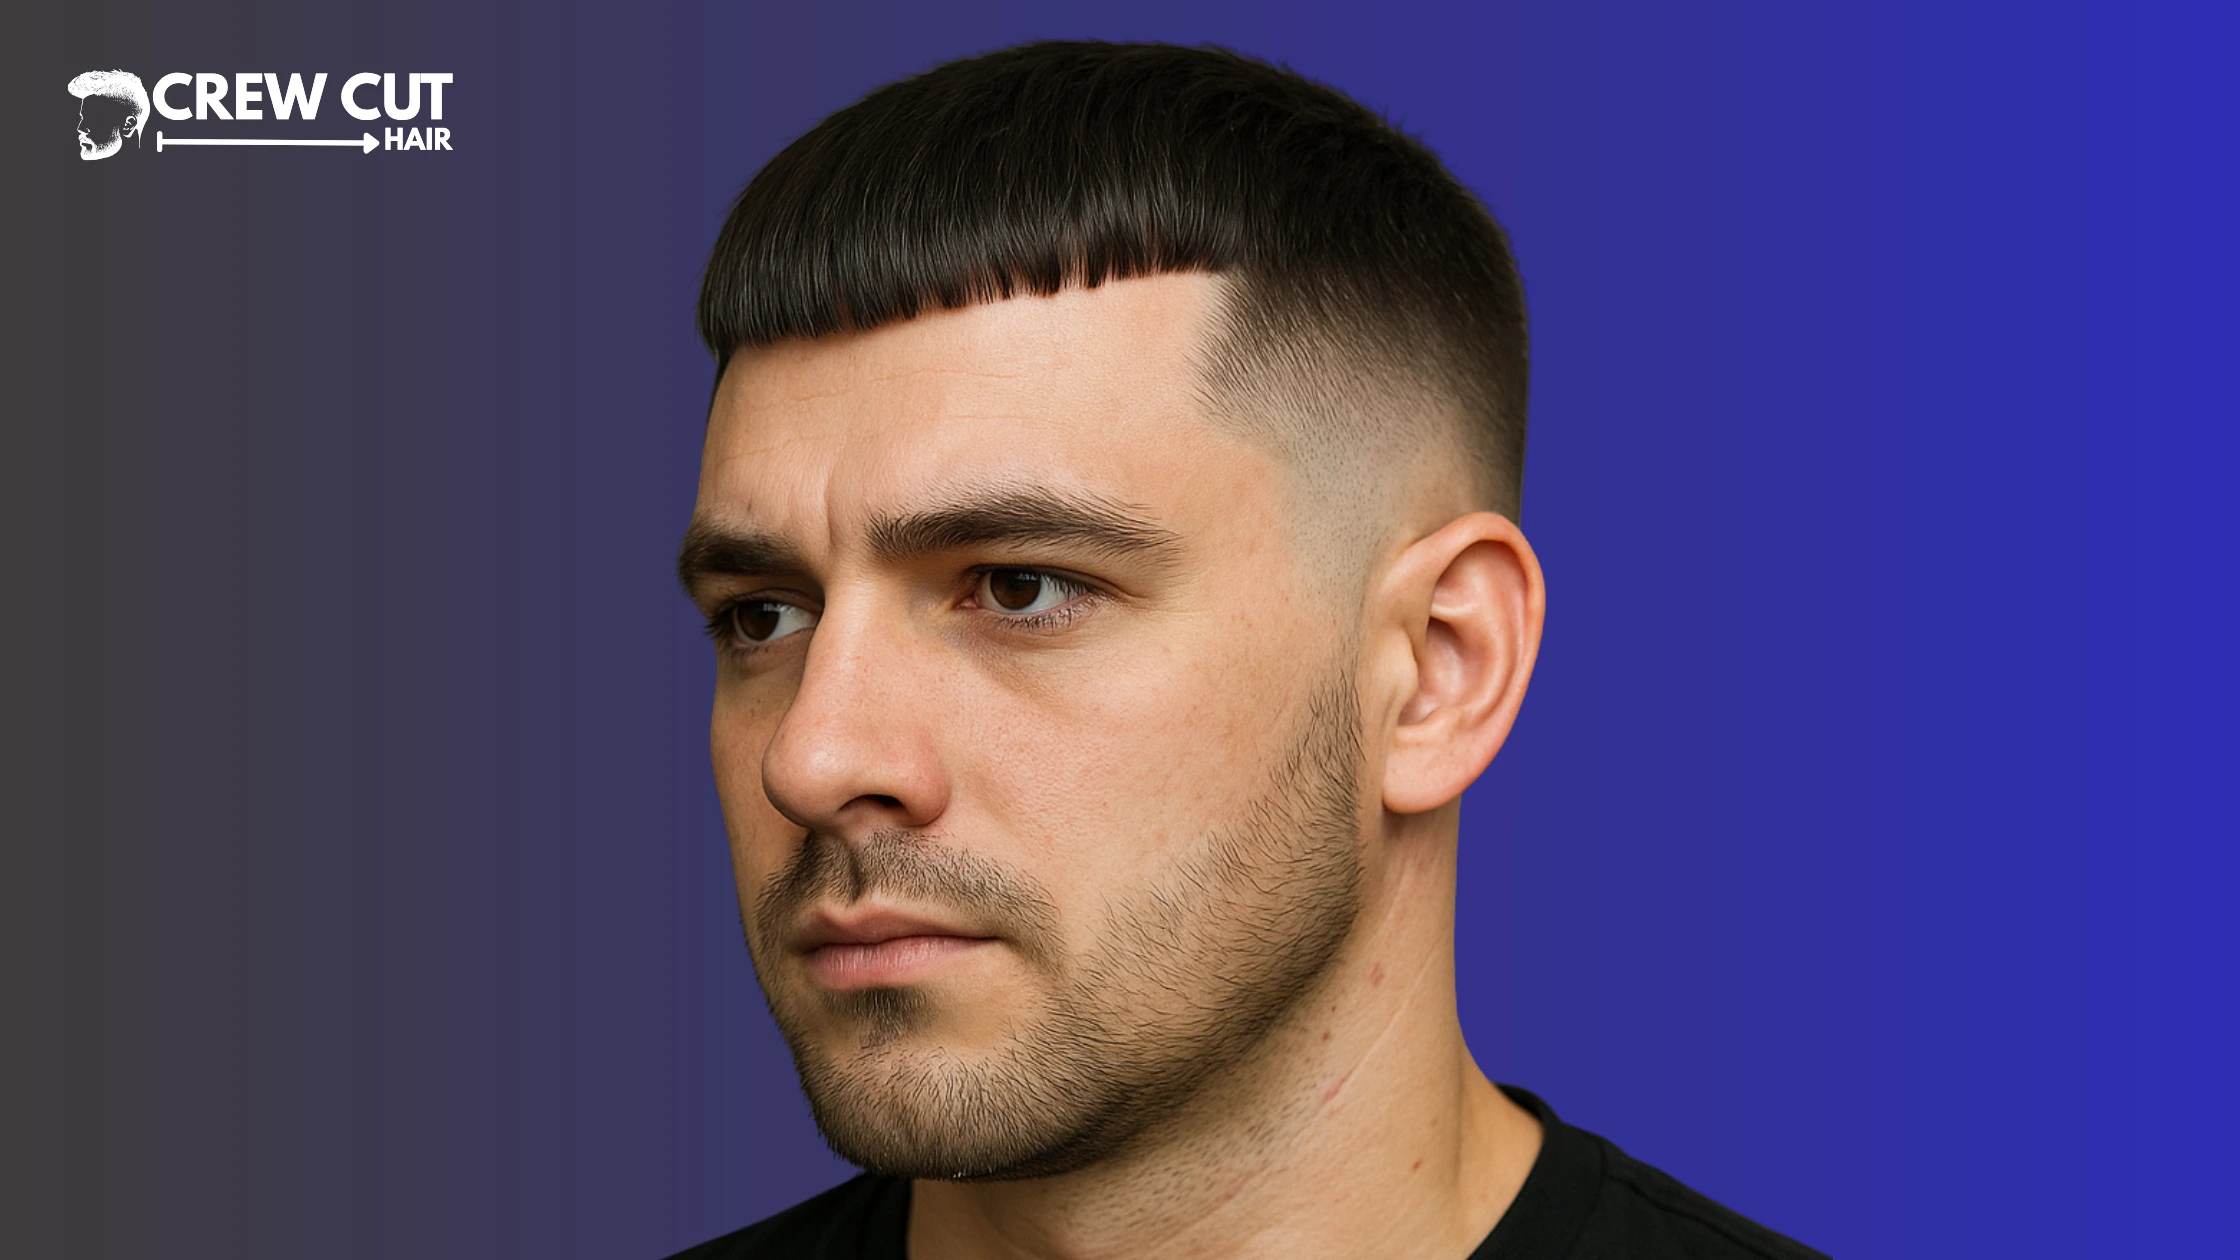
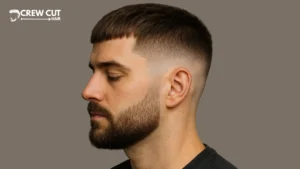
The French crop low fade blends tightly near the ear and maintains its shape through the sides. The top is pushed forward into a neat fringe-blunt, choppy, or straight. It suits work and weekends, styles fast, and grows out clean. Use this guide to choose, ask, and maintain.
This guide fixes that. You will see exactly who the French crop low fade suits, the exact words to use with your barber, a clear step-by-step cut flow, and a fast daily routine that holds all day.
Modern French crop low fade: quick guide
1) What is a French crop low fade
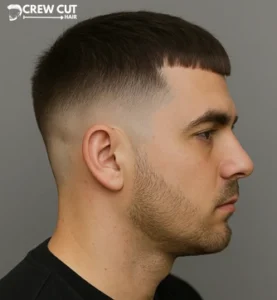
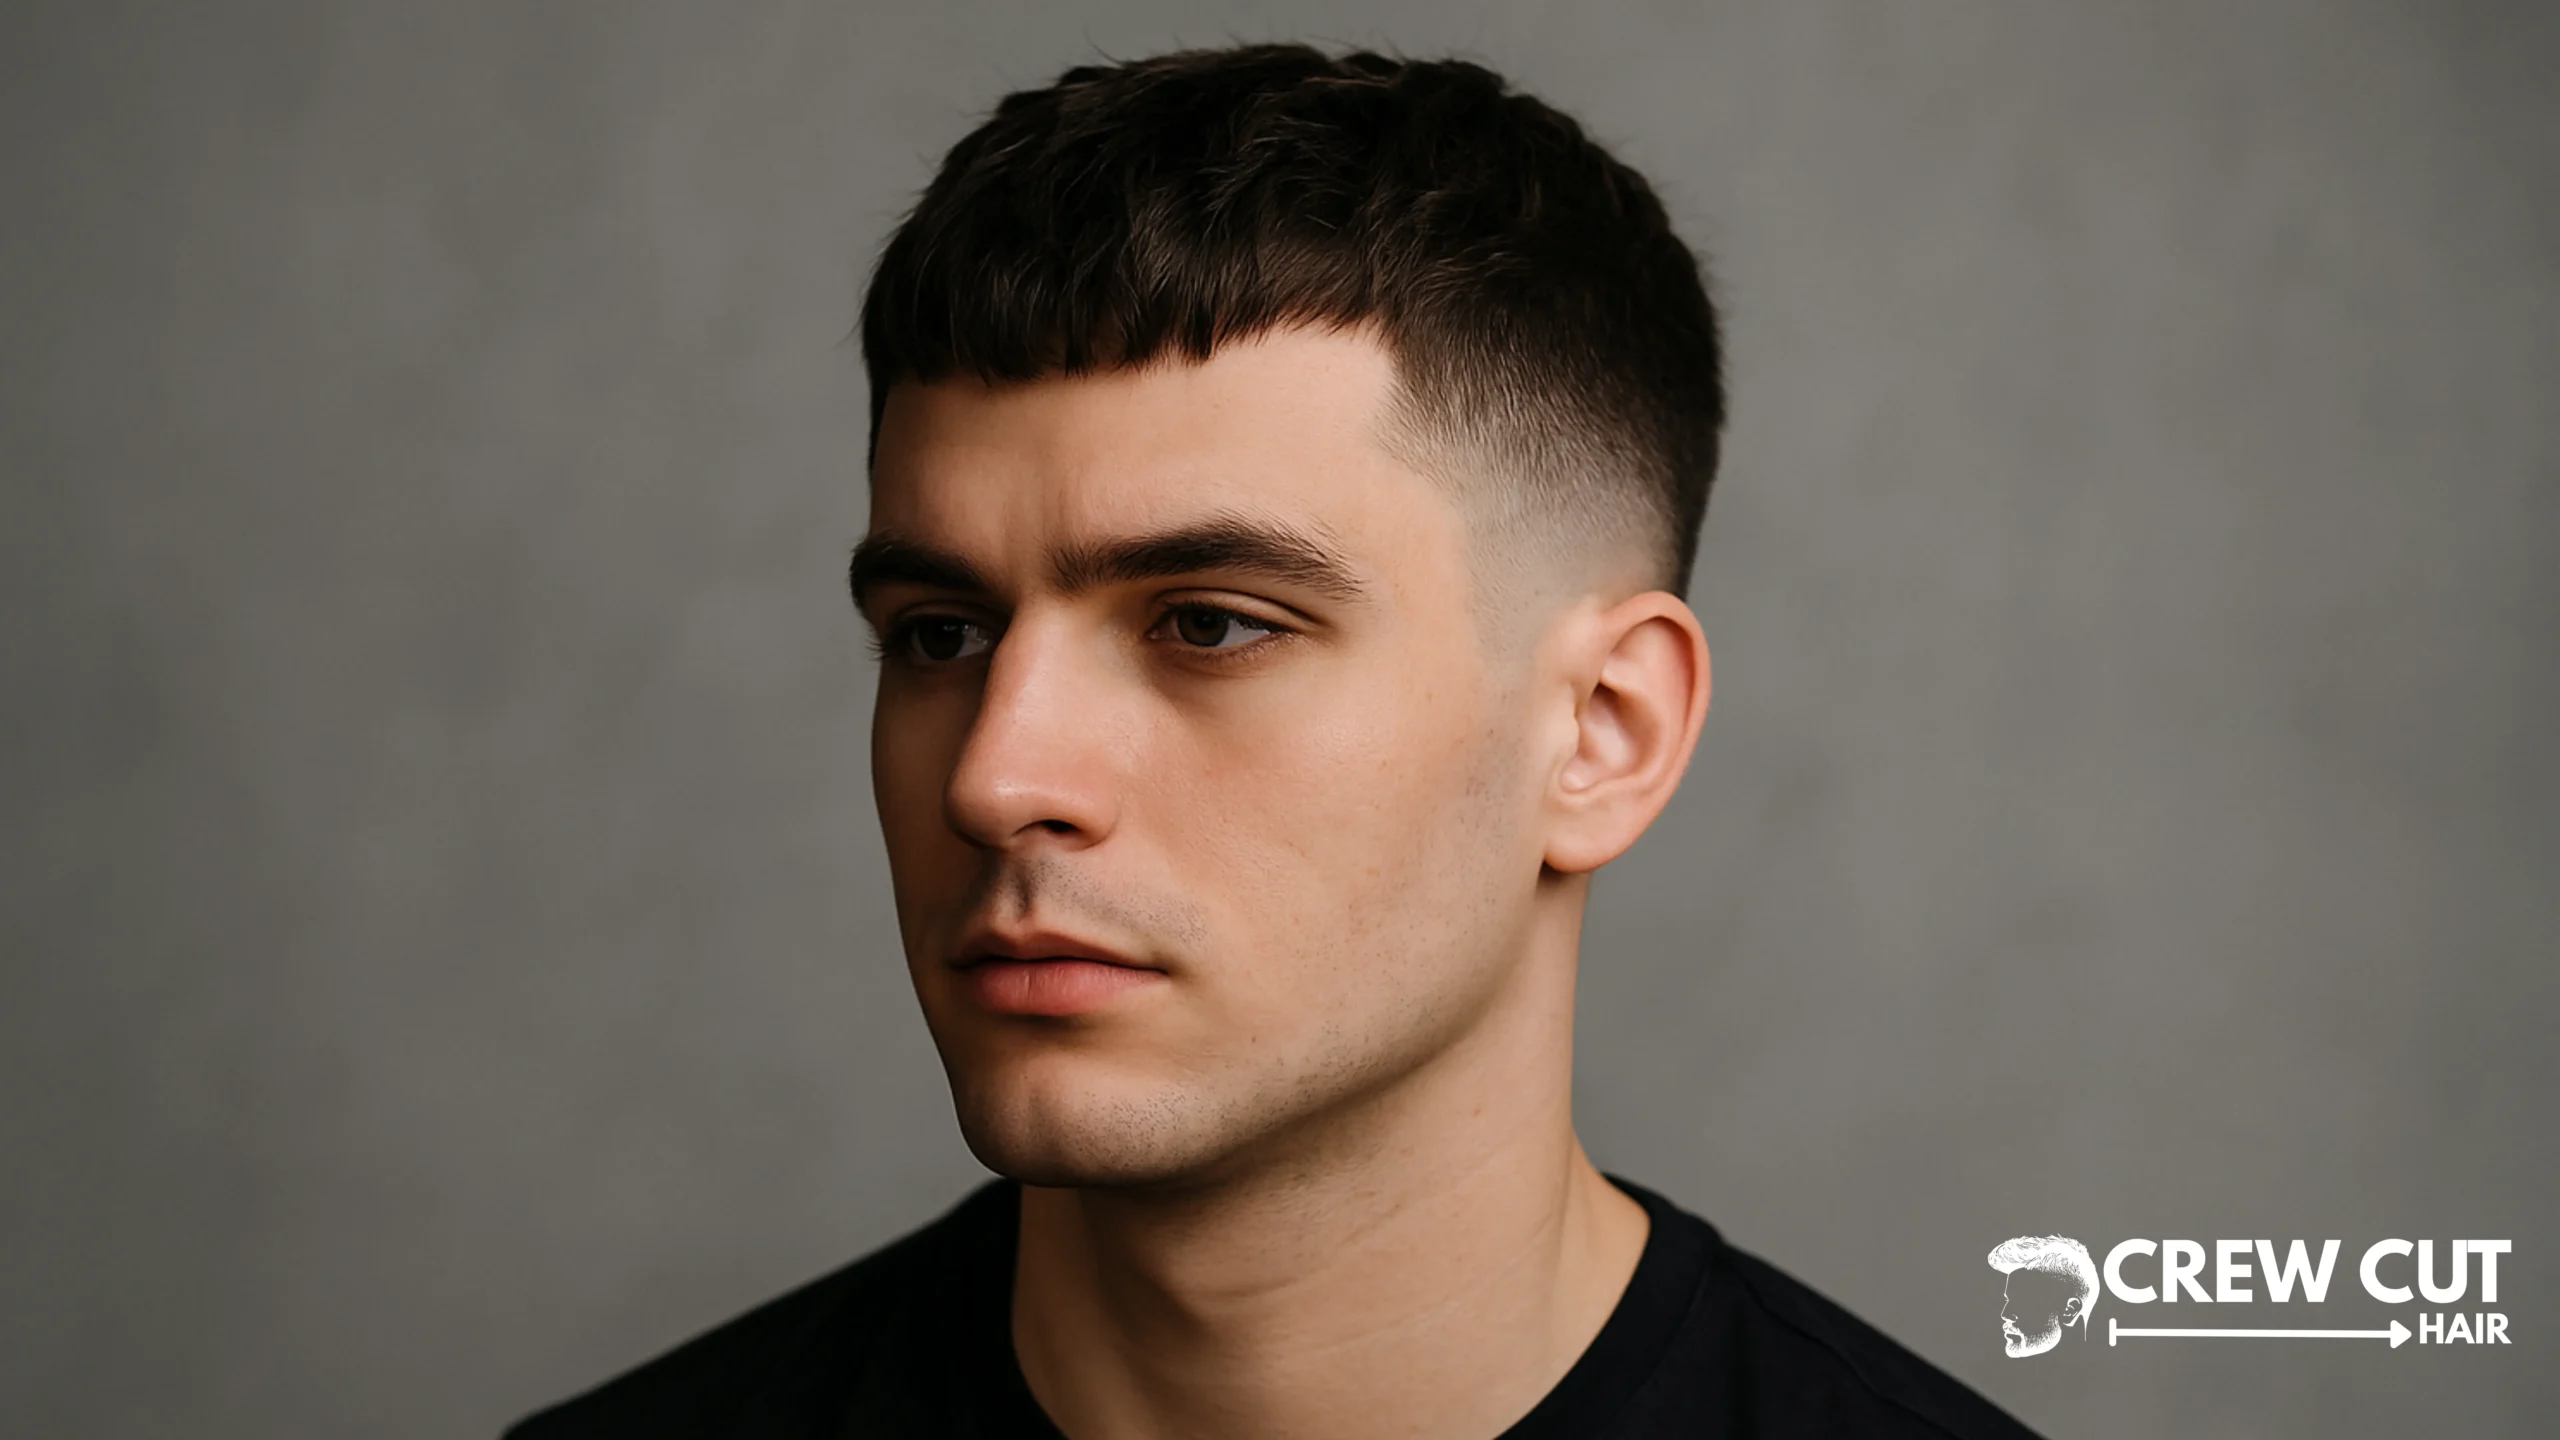
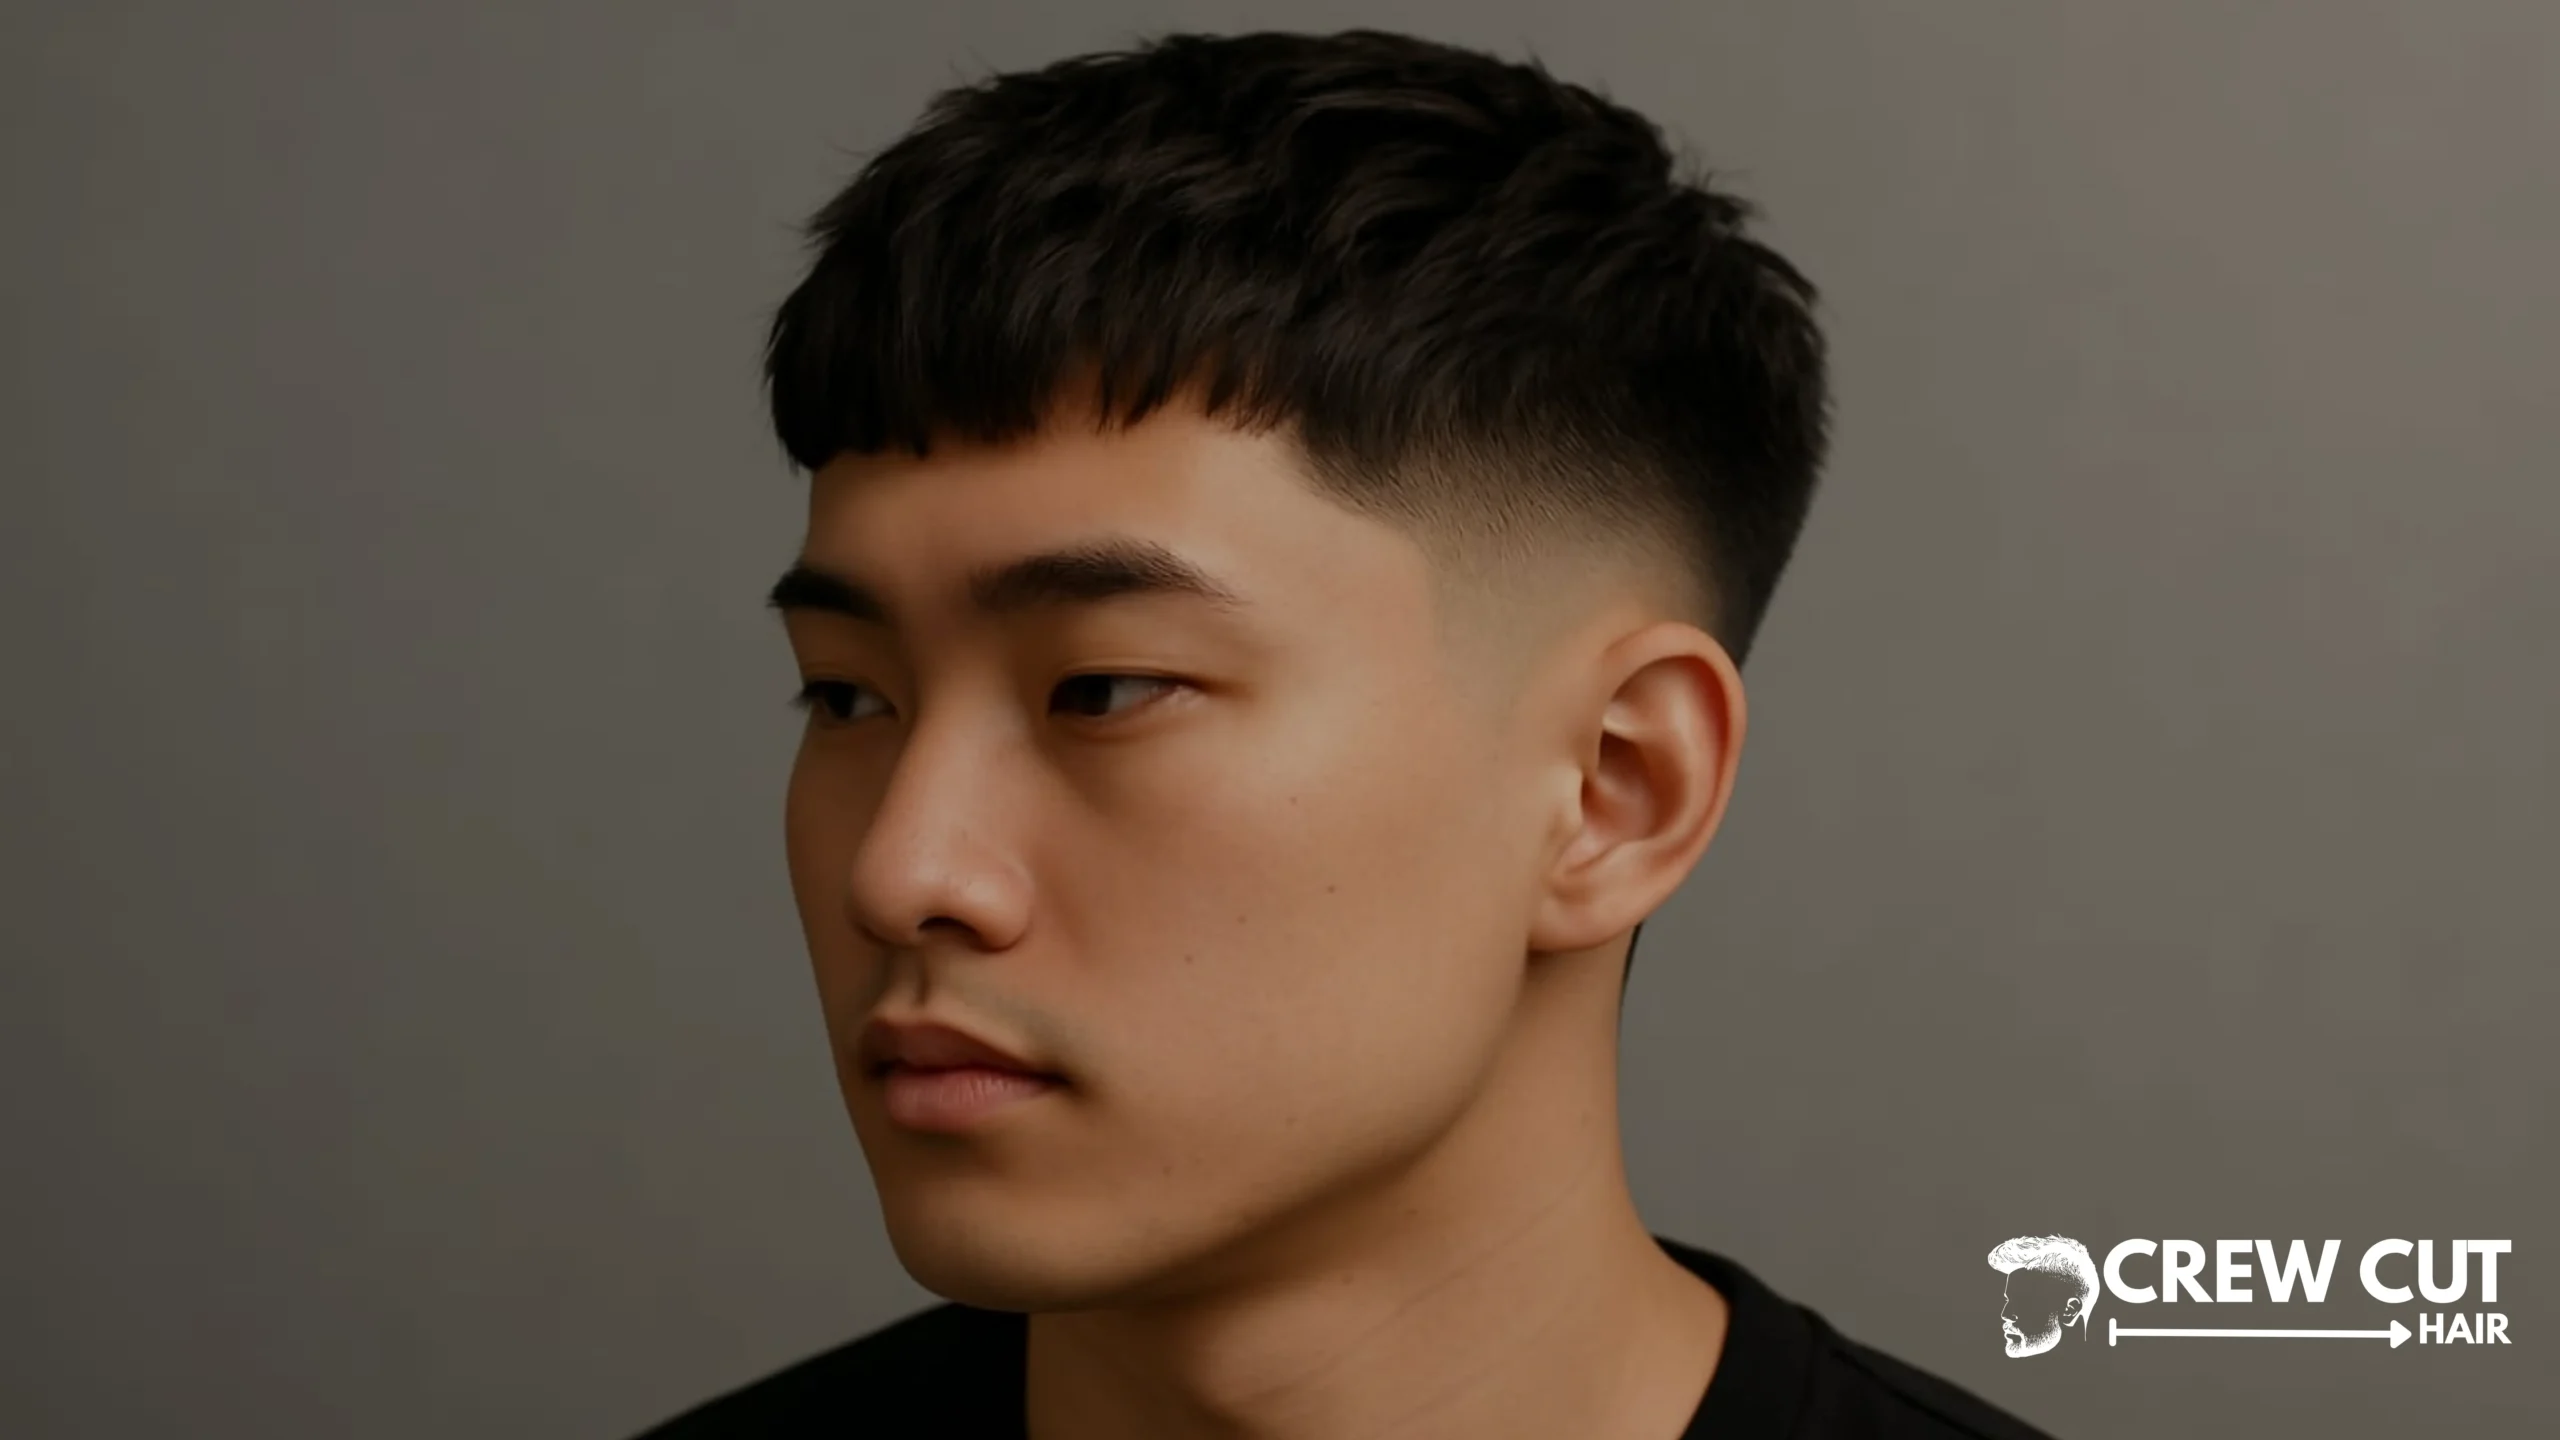
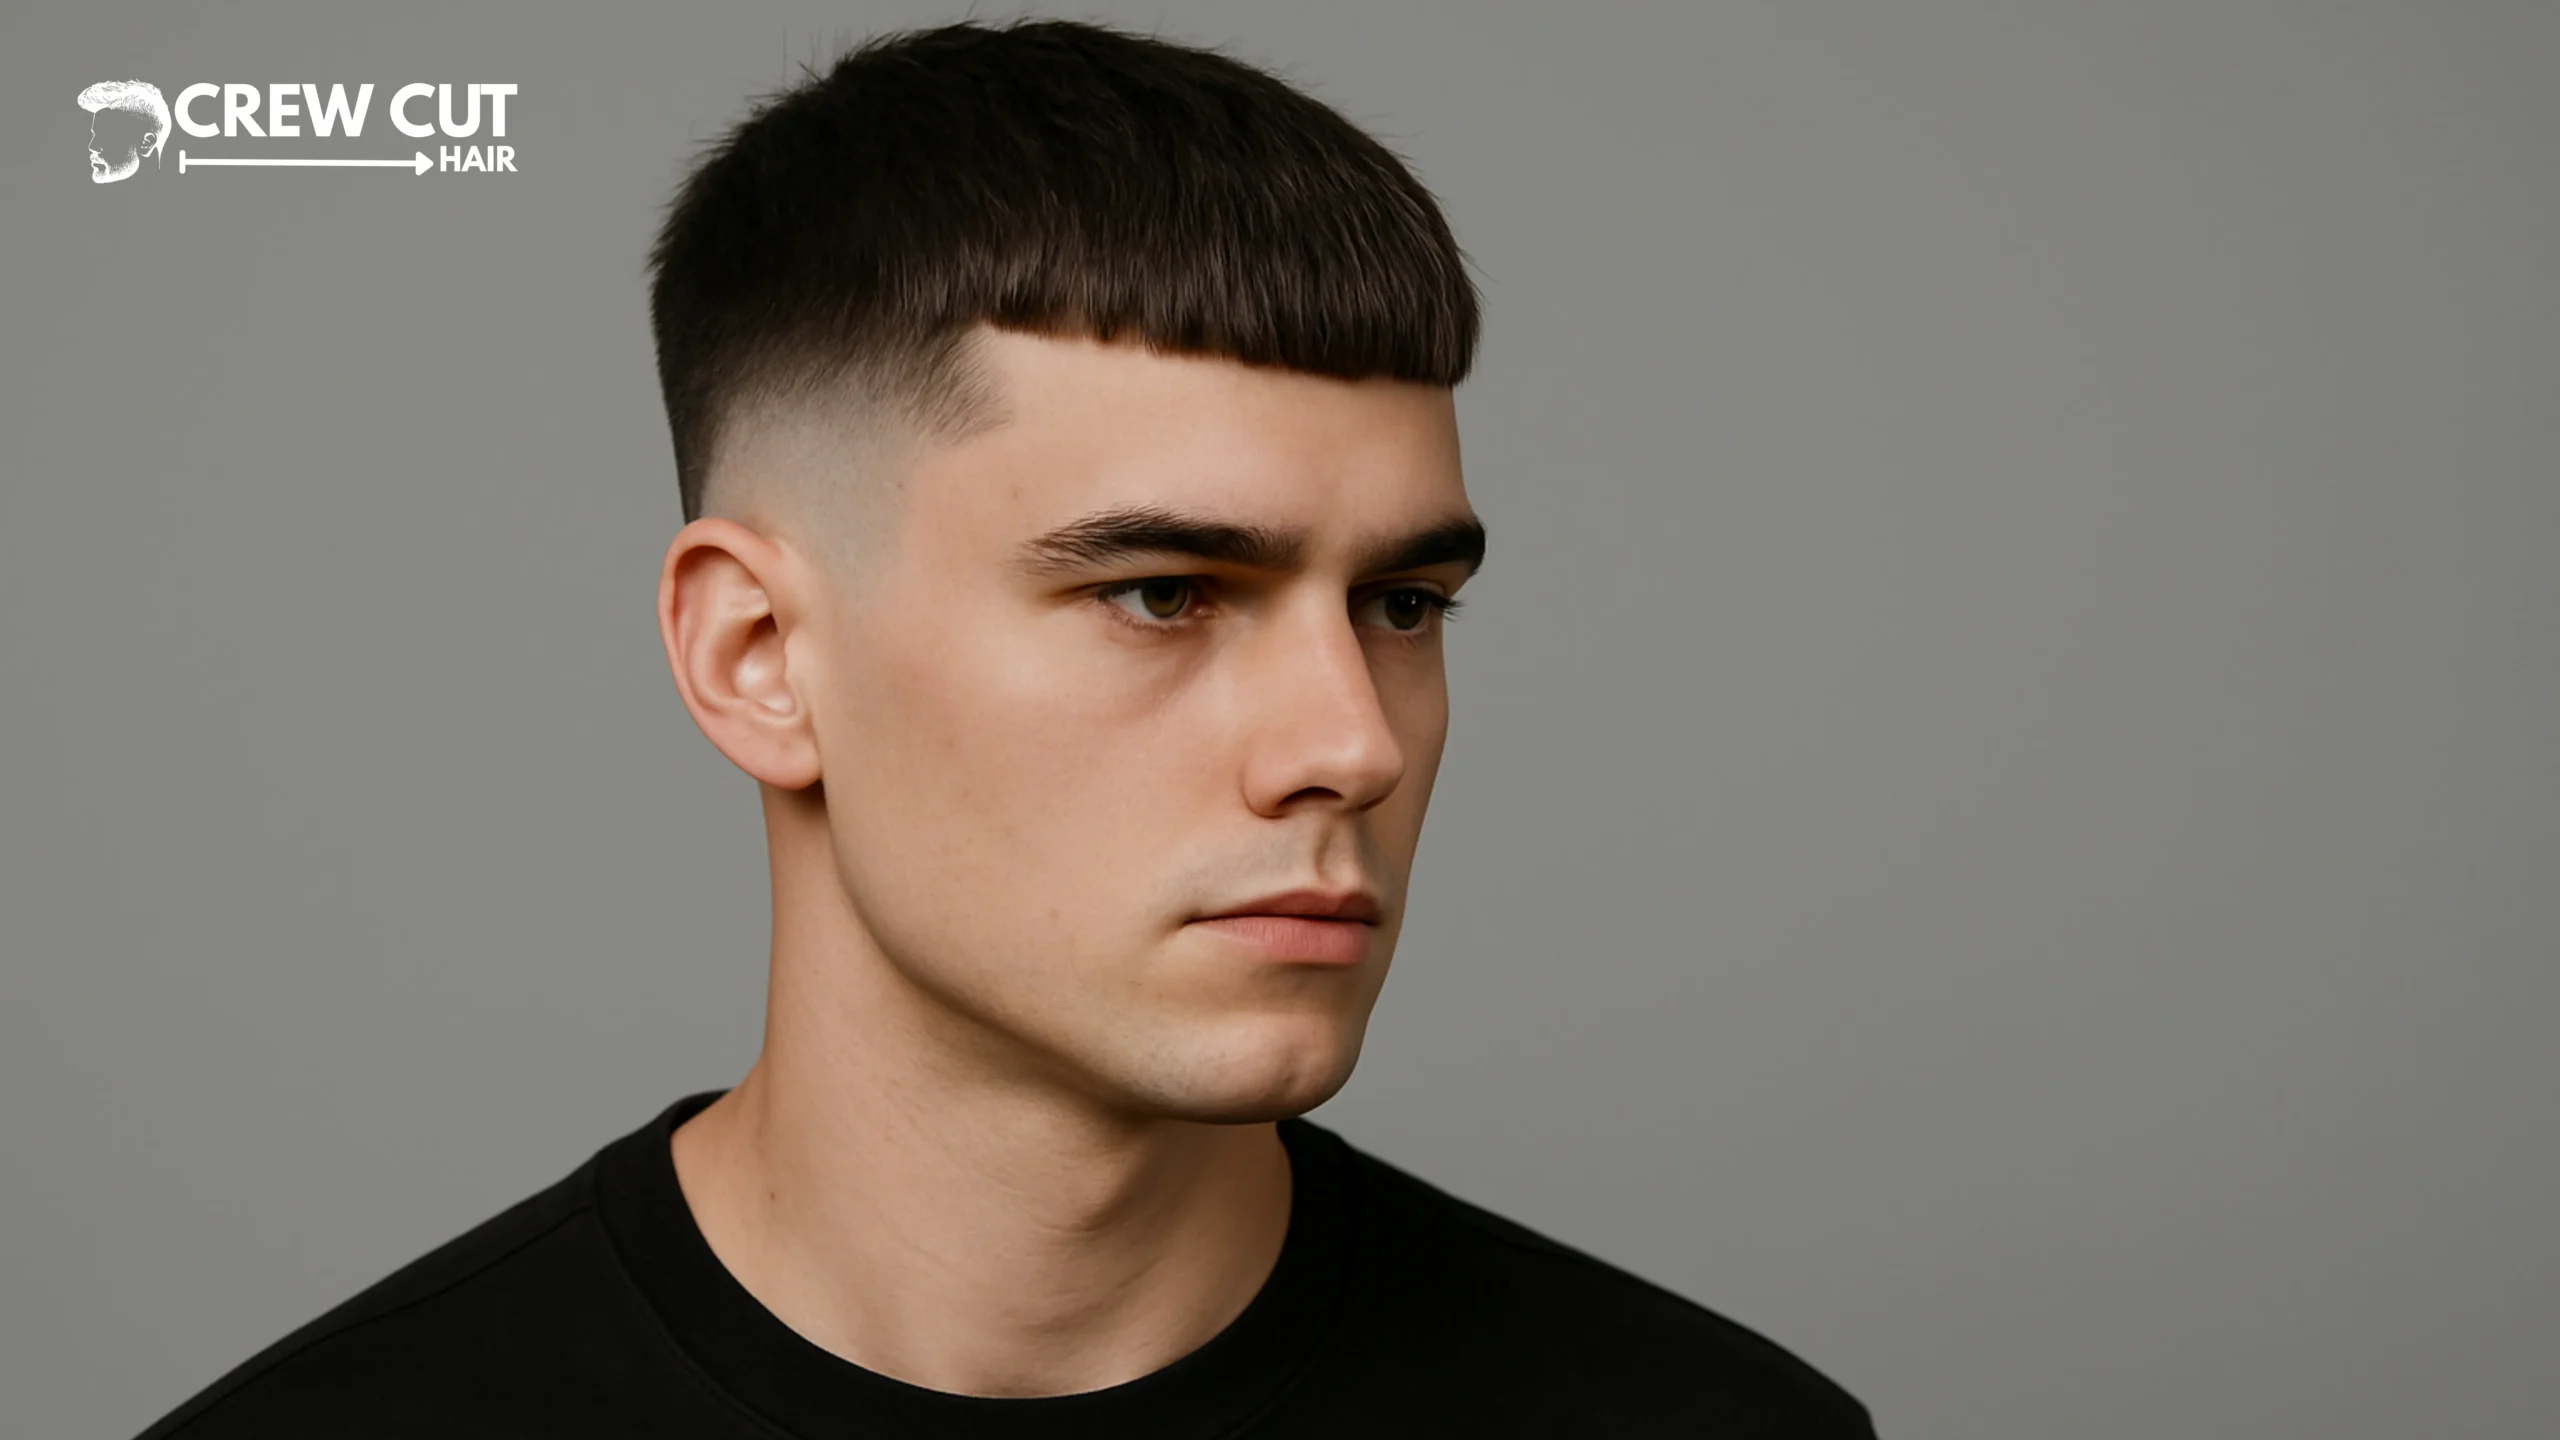
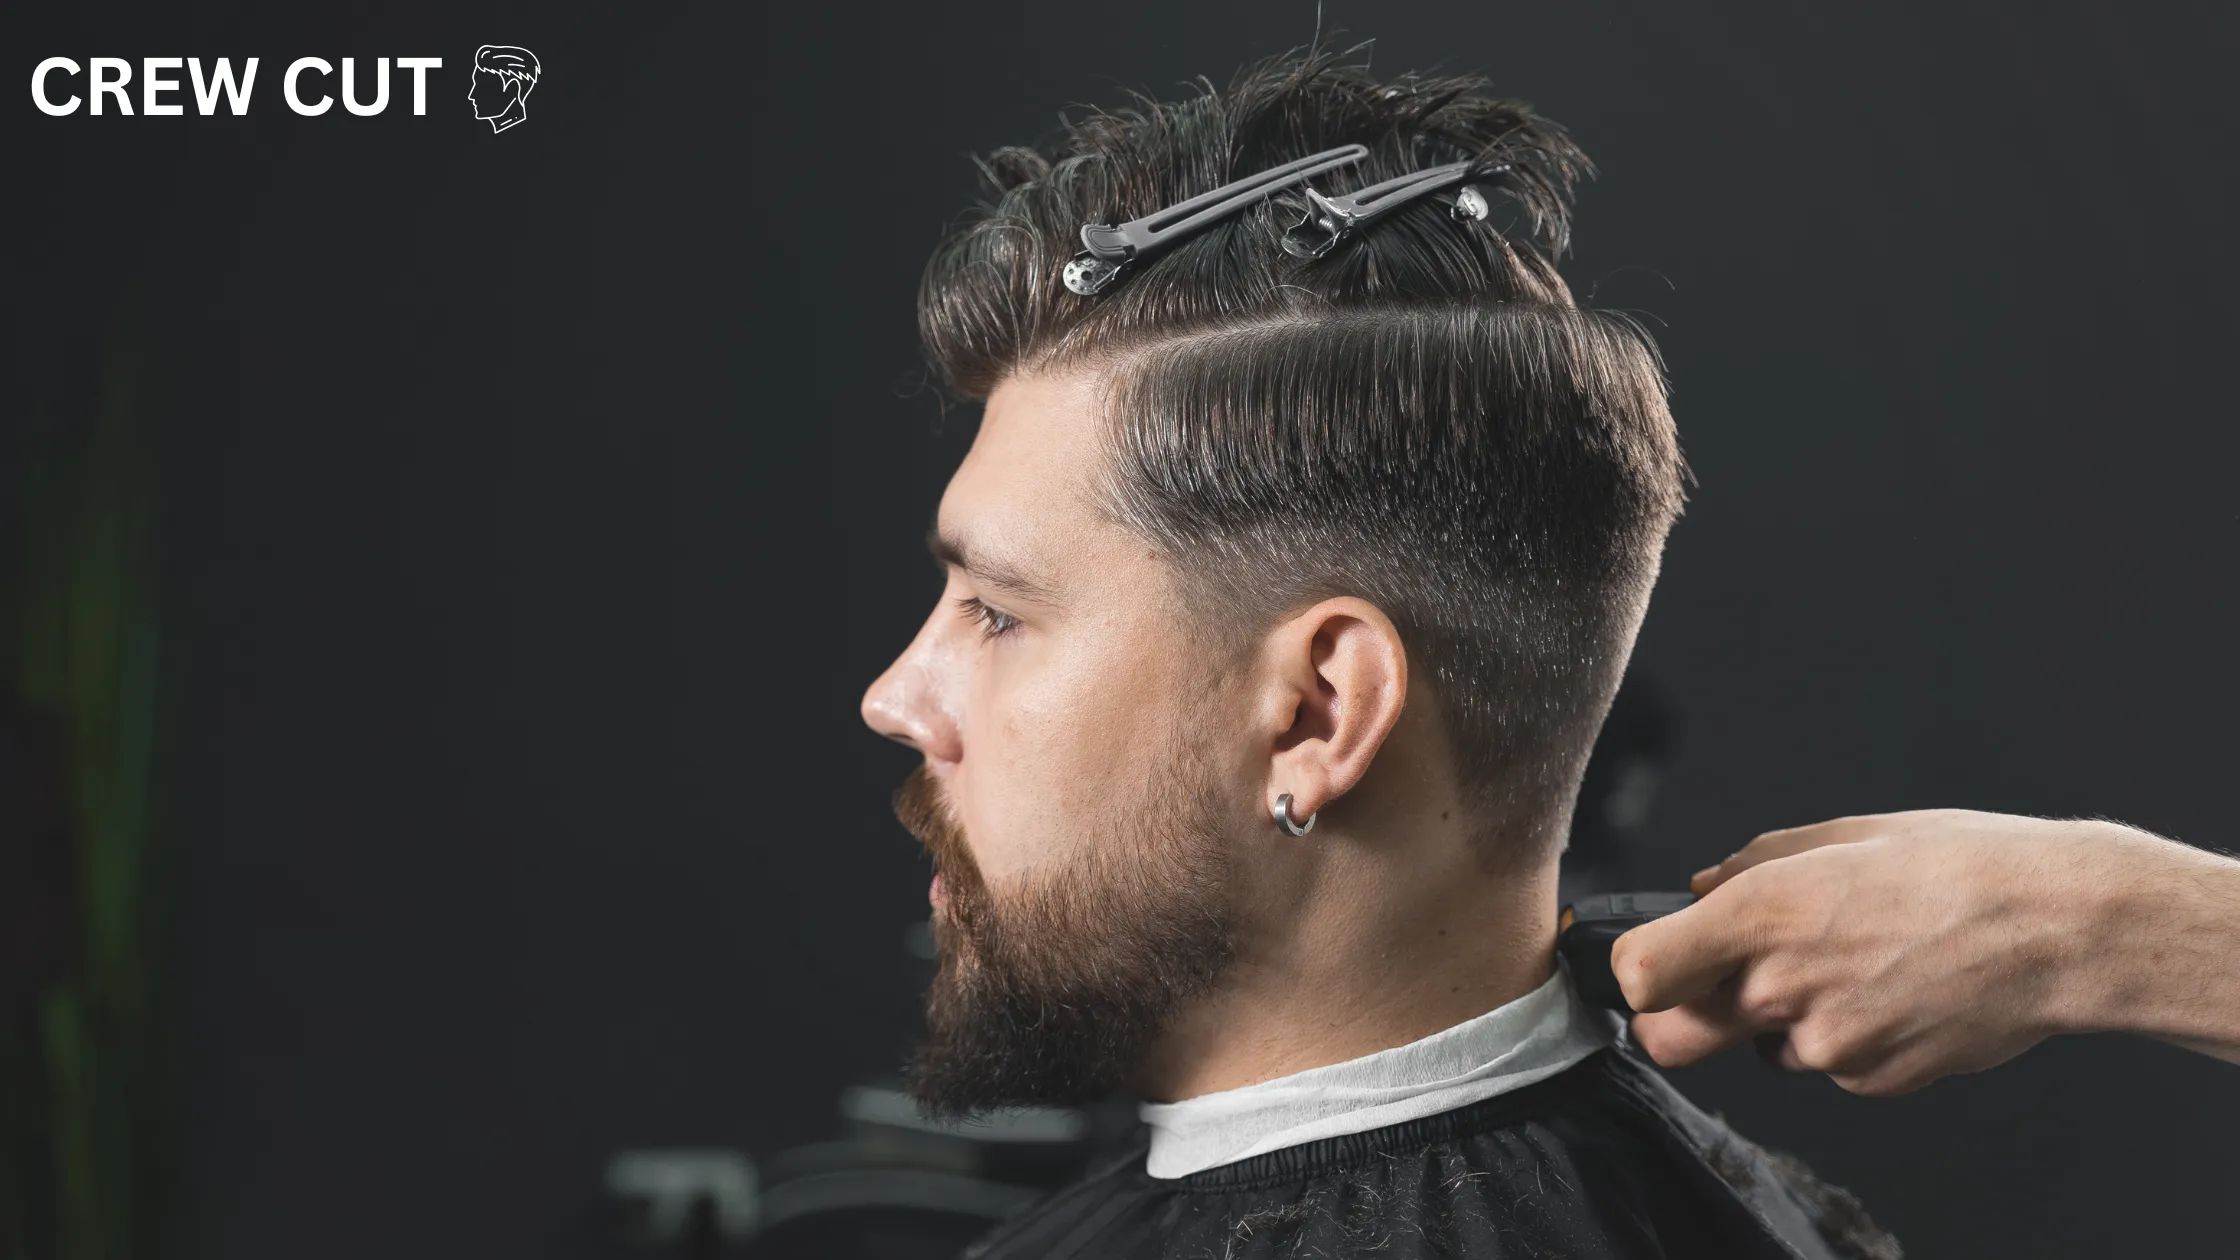
A French crop low fade is a textured crop with a forward fringe and a fade that starts low at the ear. Think Caesar crop direction with softer blending along the parietal ridge and a natural or light square line up at the hairline. Because the baseline sits low, sidewalls keep fullness and the weight line stays intact. The top reads compact from front, 45 degree, and profile angles without making the head look narrow.
2) Why choose a low fade
Low fades protect the weight line under the ridge so the head keeps shape. They look professional in office light and still feel modern on weekends. Compared with a mid or high skin fade, a low bald fade or skin taper hides regrowth under the ear. It pairs cleanly with a soft line up, natural curve at the temple, and a drop nape that follows the head.
3) Face shape match
Round faces benefit from a slightly shorter straight or micro fringe and a clean low baseline to add gentle vertical lines. Square faces look softer with a choppy or angled fringe that breaks up hard corners. Oval faces are easy; choose fringe based on job or vibe. Heart and long faces gain balance from the low fade’s extra side fullness and a calm crown so height doesn’t stretch the face.
4) Hair types & top textures
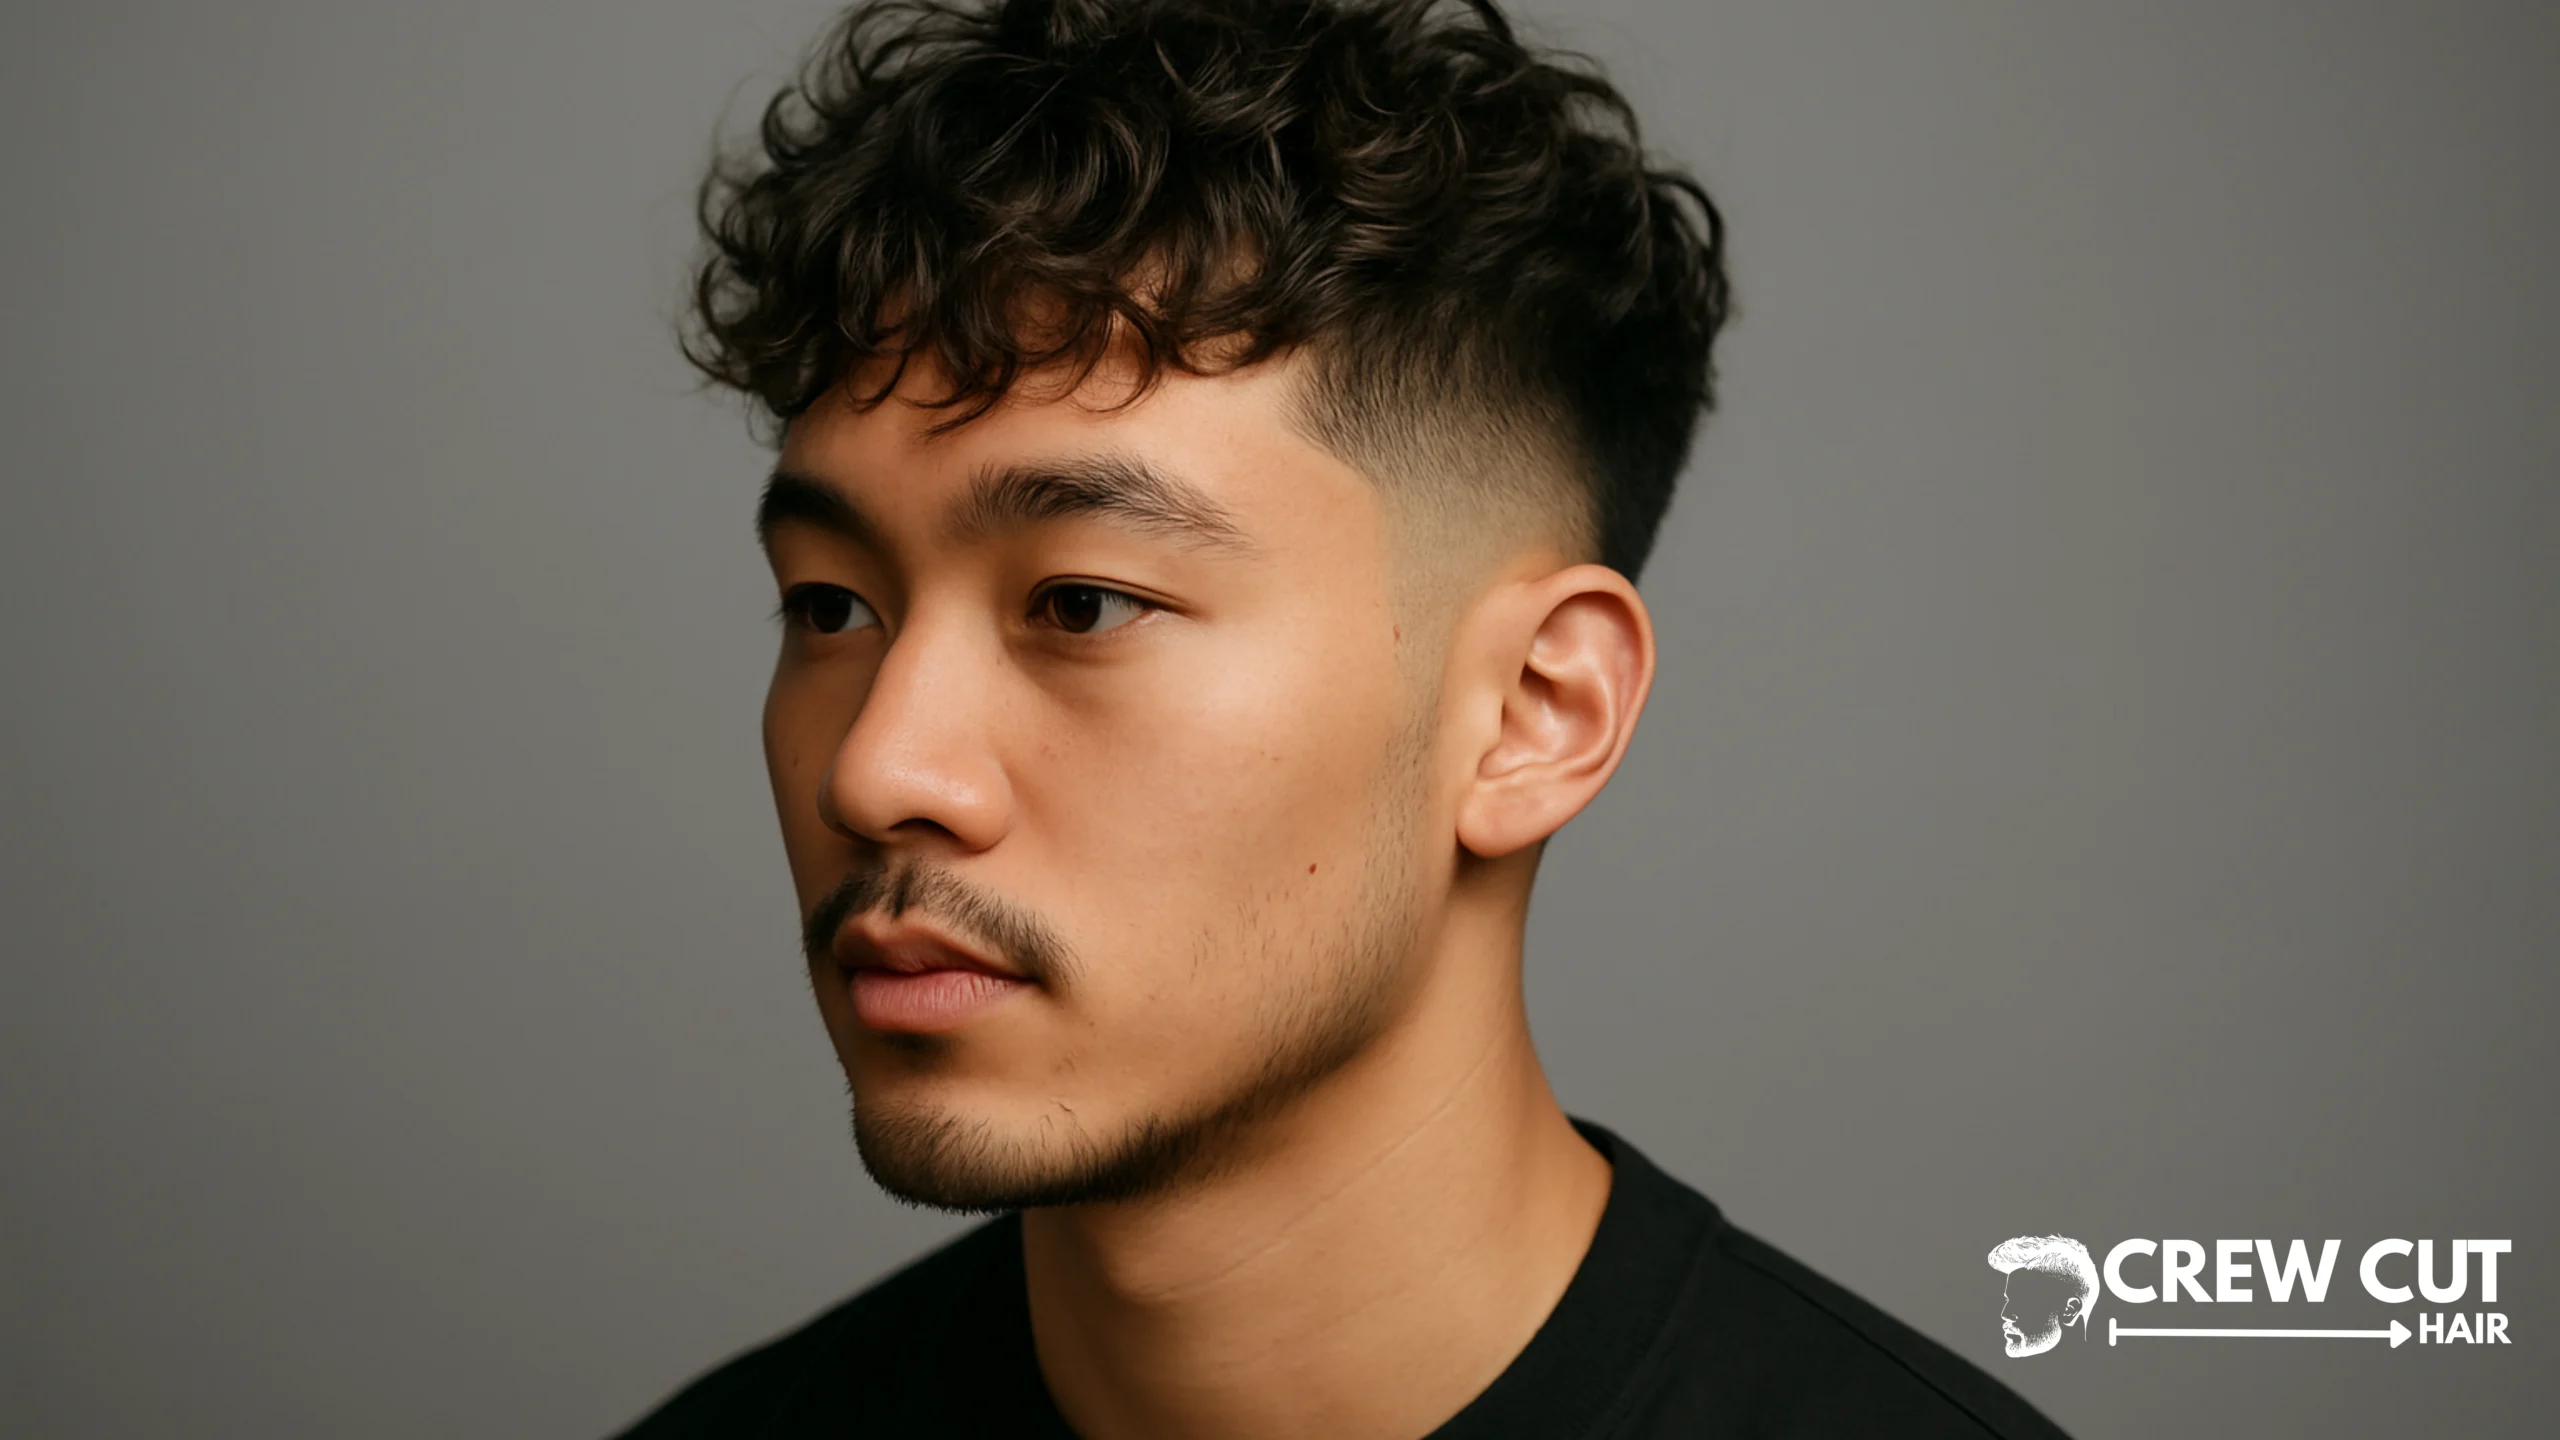
Straight hair takes a blunt or straight fringe with a flat textured top and a touch of razor texture near the front. Wavy hair likes a choppy textured crop and a softer fringe edge. Curly hair works best with a short fringe and controlled volume at the crown. Dense hair needs thinning shears only where heavy. Fine hair benefits from forward root direction and compact layering to build coverage.
5) Exactly what to tell your barber
“French crop with a low fade. Keep sides low and balanced; no high skin. Fringe [blunt/straight/choppy] to match my forehead. Top [flat/textured/messy], brushed forward. Natural neckline, clean ear outline, calm crown. Blend parietal ridge; control corner weight so the top sits.” Bring one clear reference image from the 45‑degree angle for accuracy.
6) In the chair: step‑by‑step
Step 1: Consult & plan
Confirm low fade height at the top of the ear. Choose fringe shape and top length in centimeters. Map cowlicks at the crown and ridge. Decide on natural neckline, mild square line up, or shape up. Align expectations for grow out and tidy up windows.
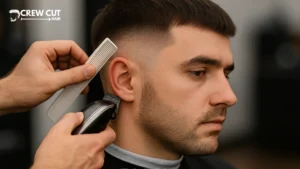
Step 2: Prep
Comb forward to reveal the fringe line and comb line. Towel dry to about 70 percent so root direction is visible. Section the top if needed and clean temple height. This prep guides blending and reduces crosshairs later.
Step 3: Set the first guideline
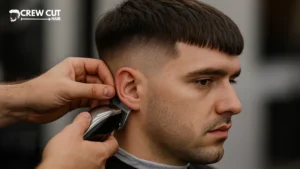
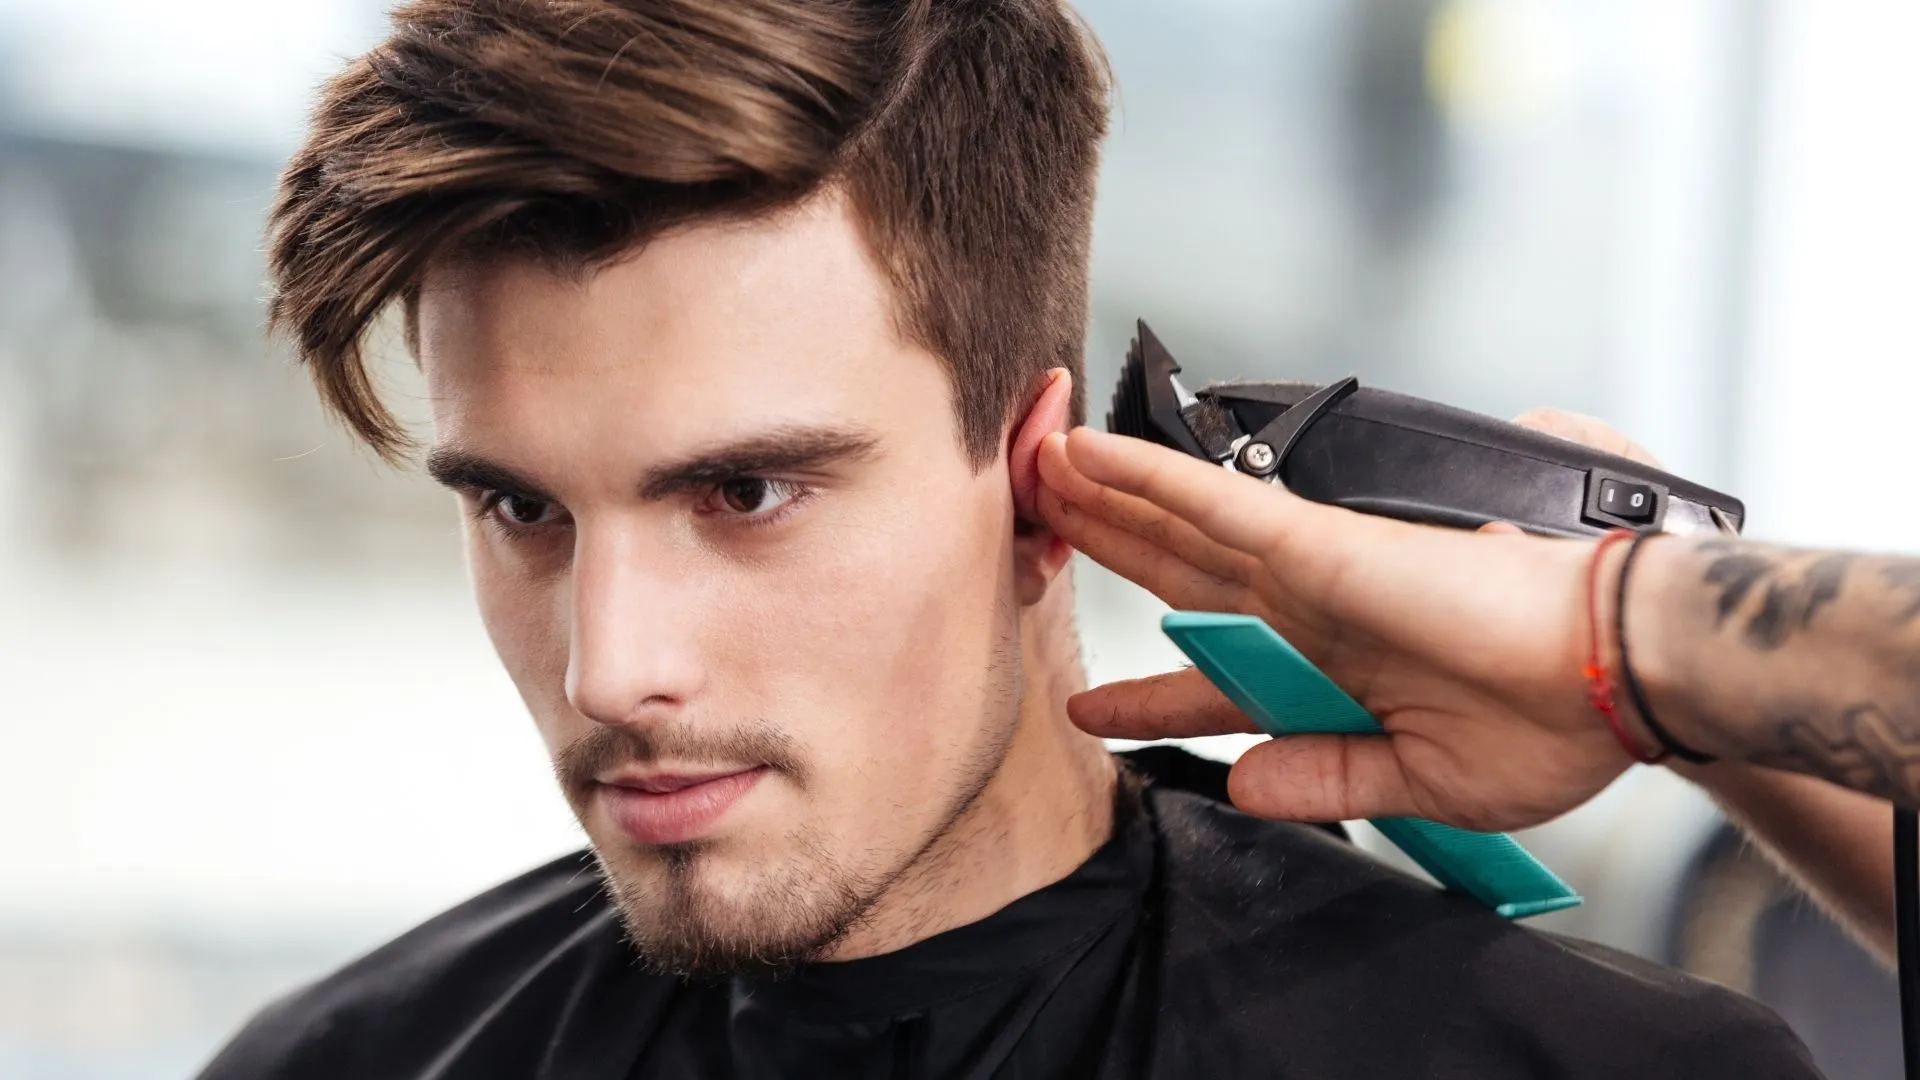
Place a low baseline with lever open, hugging the ear without climbing. Mirror the curve across the occipital for a smooth drop nape. Keep strokes short and even so the baseline stays level before you tighten.
Step 4: Build the fade
Tighten with lever close, then move guards zero, half, number 1, 1.5, and number 2 as needed, staying low to protect the weight line. Feather into the guideline to avoid shelves. For low bald fade requests, finish with a foil shaver and keep the blend soft.
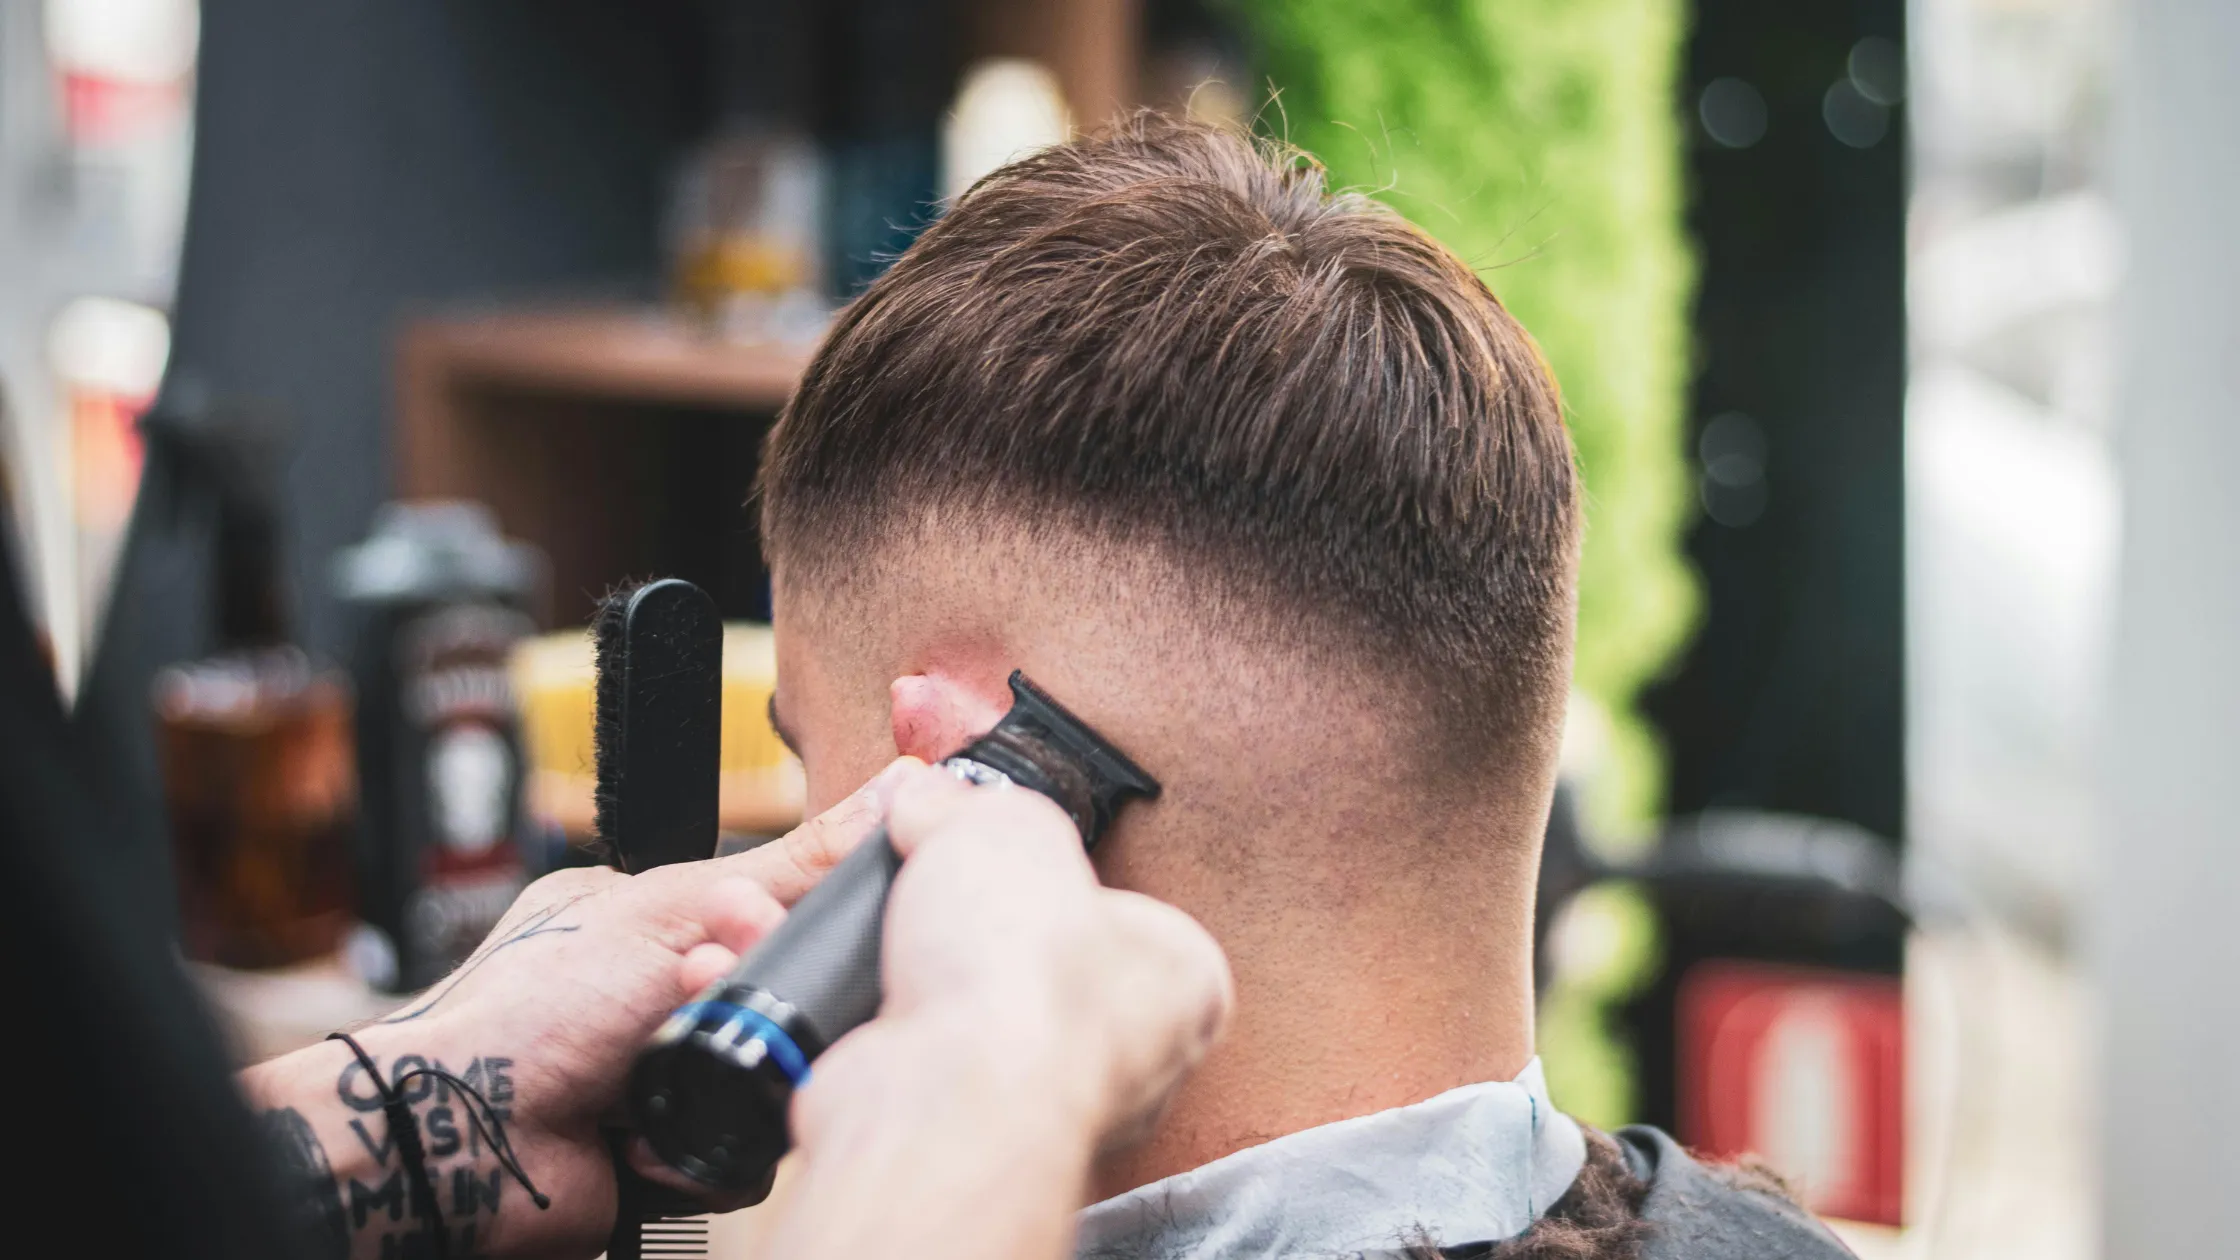
Step 5: Blend ridges
At the parietal ridge, use clipper over comb to clear corner weight without raising the fade. Switch to scissor over comb near the occipital for a softer drop. Cross check at 45 degrees and erase shadows with the corner of the blade.
Step 6: Texture & balance
Point cut the top for movement. Use texturizing shears or light razor texture where bulk collects. Keep coverage over the comb line so the crop looks full. Confirm crown control so hair lays forward.
Step 7: Cut the fringe
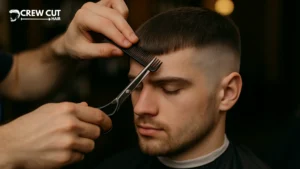
Keep the head neutral. Square for a crisp office look or chip for a relaxed edge. Match corners to brow tails so the line photographs straight. If the forehead is short, choose micro fringe. Avoid a hard part unless needed for stubborn direction.
Step 8: Finish
Set a clean nape taper and ear outline. Optional soft temple fade or light shape up for polish. Blow dry forward to lock root direction, then palm press the fringe. Cross check symmetry in natural light and book the tidy up.
7) Daily routine (fast)
Towel‑dry after showering and dry forward for 30–60 seconds to set root direction from crown to fringe. Use your fingers or a vent brush to guide hair along the comb line. Pinch the fringe corners lightly for definition. If hair is dense, smooth the parietal ridge with a quick pass to keep sidewalls tidy all day.
8) Beard & outline options
Mirror a low beard fade to the side fade so cheek line, jawline, and neckline read as one flow. Stubble works if the outline is crisp and the under ear area stays light. A natural line up keeps things soft. A mild shape up adds edge without looking harsh in photos.
9) Maintenance timeline
Plan a tidy‑up every 3-5 weeks for low fades; this keeps the baseline and ear outline crisp. Ask for crown checks to prevent puffing as hair settles. If the fringe starts to drop into the eyes, request a quick edge service. Because the fade sits low, grow‑out hides better between visits.
10) Common mistakes & quick fixes
Fringe too long presses into eyes. Trim or switch to micro fringe and reset the line. Top too heavy needs corner debulking and a cleaner ridge blend. Fade creeping high means reset the baseline low and rebuild with short flick strokes. Patchy skin work improves with foil shaver passes and light buffing.
Pro diagnostics checklist before the cut
Check crown growth, ridge density, temple height, forehead length, and beard connection. Note if a soft line up, shape up, or natural hairline fits the face. Decide on drop nape versus straight nape. Confirm if a low bald fade or skin taper is allowed by dress code. Agree on tidy up timing.
Advanced blend controls
Protect the weight line below the ridge. Use clipper over comb to avoid raising the fade. Erase shadows with corner of blade. For dense zones, choose thinning shears over aggressive guards. Keep comb line coverage so the crop looks full on camera at front, 45 degree, and profile.
Conclusion
The French crop low fade delivers a clean silhouette with modern detail: a forward‑styled top, a tidy fringe line, and a side profile that stays soft around the ear and neckline. Keep the baseline low to preserve head shape, control corner weight at the parietal ridge, and calm the crown. With a 3-5 week tidy‑up and a 60‑second morning dry‑forward routine, you can hold definition all day without heavy product.
Show this guide to your barber, ask for a French crop low fade, and use the steps above. Share your result and hair type in the comments.